


|
Photography tips
First off, I have no photography training. Everything I know is learned through trial and error, and none of my equipment would be considered professional in any sense of the word. But for other hobbyists looking to get by with what they have, these tips may help. |
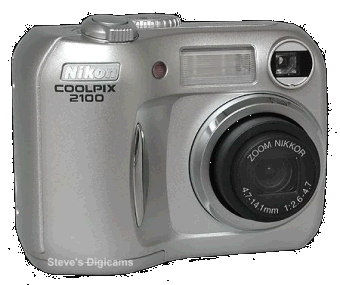
Camera
I'm using a Nikon Coolpix 2100 digital camera. It's an older-model 2 megapixel camera I've had for some time. When choosing your camera, try to not overspend on unnecessary features. For web viewing, 2 megapixels is more than enough resolution, especially at the magnification we'll be dealing with. The important features of a camera for miniature photography are macro mode, zoom, tripod mount, external power, and easy flash suppression. Each of these will be discussed further. Zoom
This may be the biggest technical challenge to miniature photography. Digital cameras usually have autofocus as the only option, unless you spend more on a professional quality camera. Learning to distance your camera properly from the figure for the mode you are shooting in is an essential task. My camera has a 3x zoom, with an additional 4x digital zoom. Remember that the standard zoom is optical, or lens-based, and does not alter resolution (although it can affect the autofocus, which can affect resolution). The digital zoom is an image processing enhancement (crops and enlarges using interpolation) and inherently alters resolution, so it's best not to zoom into the digital zoom region. Macro mode and focus range
External power
Make sure your camera has the option of an external power source. Even without the flash, you'll usually need the LCD, and you'll go through batteries faster than you can charge them. You have to plug in your lights anyway, so just have an extension cord with the power adapter ready to go.
Flash suppression
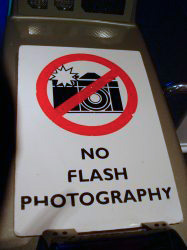
The best pictures are going to be those taken without the flash. Most digital cameras have a menu option for turning off the flash, but sometimes they require several
button clicks to get there. Mine takes 5 clicks, and needs to be repeated every time the camera comes out of standby mode, which is the most annoying thing I
can imagine. Try to find a camera that has an actual button to turn the flash off. Don't get a camera that won't allow you to turn the flash off; putting your finger over
flash doesn't work! If you get an external power supply, and tend to take lots of pictures at a time, then you may only have to turn the flash off once per session.
|
|
Tripod
Depending on your lighting setup, you may even want to get a floor-mounted tripod instead of a tabletop version. The floor models keep your tabletop area cleaner, provide better access to your figures or photo area, and perhaps most importantly, get you that correct camera angle. The tabletop versions generally don't go lower than 6 inches, which may be too far above the figures. To compensate, you'll have to adjust your figure stand, lighting, and everything else. Seems like a lot of work to accommodate a crappy tripod or save a couple dollars. |
|
Lighting
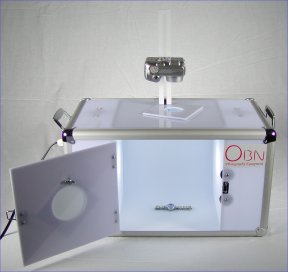
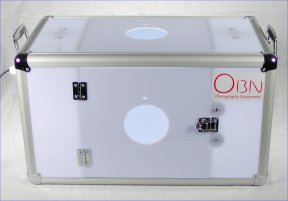
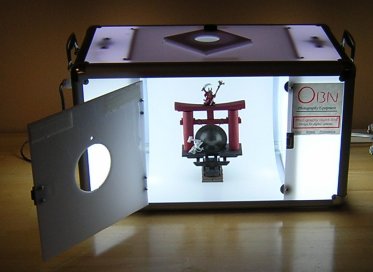
After the camera, the lighting is the next most important part of taking pictures. The worst lighting is normal room lighting, which casts shadows from above onto the areas you're trying to photograph and is almost always too dark to be any good. Next worst is the camera flash, which has the opposite effect: it is too bright, causes glare, obscures details because of high contrast differences, and casts a shadow onto your background. You can leave the room lights on, but you need to turn the flash off and implement another lighting solution. A cheap, common solution is a light tent, which is a fabric or plastic cube with one open side that you can shoot your photos through. A good light tent will come with a backdrop that can curve from the back top to the bottom front in one piece, so that there are no visible lines or seams in the background. Here are some example light tents:
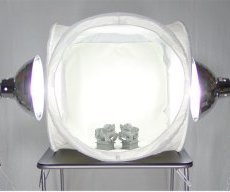
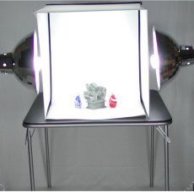
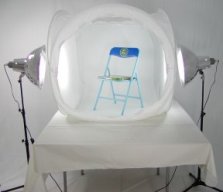 Some light tents are larger than others, so choose one that will allow you to keep the camera outside of the tent. Your figure will go in the middle of the tent for best lighting. The lights are positioned on both sides, with an optional additional light above, and shine through the material of the tent onto the figure. The tent diffuses the light which reduces shadows. Generally the lights are low-wattage fluorescent bulbs, which work great for most photography, but if you're picky about the color tone of your painted minis, you may prefer a mix of fluorescent and incandescent bulbs to create the correct color tone in the photographs. I went one step further and bought a self-contained hard-sided light box of the right size for miniature photography. This is a more portable setup, so I can transport it or store it easily, set it up quickly, and even stack stuff on top of it or around it when not in use. It also has a top opening and camera bracket, it the rare occasion where I might want to photograph from above (like for unbased, one-part metal figures). Here's a website with light tents and light boxes: http://www.obuynow.com. I have the OBN Table Top X10A Light Box, which is good for objects under 8 inches, and costs $160 retail but I got for $73 plus shipping on ebay. One great thing about the light box is that it also limits the amount of light that reaches the camera, so your lighting doesn't affect your camera's contrast-dependent autofocus. If you are using a light tent or other setup, you may have to block the light from reaching your camera.
   |
|
Photography demonstrations
This short section is just to demonstrate the common pitfalls associated with photography of miniatures. For more detail on lighting and its effects, see the next section. Magnification vs. resolution
Here is an example of attempting to get more magnification of detail by moving the camera closer. The image on the left is using my standard setup of about 12 inches away. The image on the right is closer, but still at least 6 inches away. Even in macro mode, you can see how you need distance from your target for good detail. More zoom would have been better than moving the camera closer, as I'm sure you will agree. If you're a novice, you might think that the poor picture on the right was due to motion of the camera, but it is not. The camera has more difficulty focusing on close objects. Even if you had a manual focus on your camera, you would be limited by the focus range of your lens. 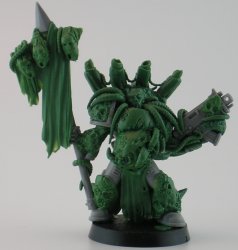 
White balance
Most digital cameras come with an adjustment called white balance, which normally defaults to automatic white balance correction. While a professional photographer might be able to provide more insight, you should be able to intuit that by adjusting the white balance, you can make things which are supposed to be white but are not quite true white (such as your background). My camera has a few settings including auto, measure, fluorescent, incandescent, etc. Here's some examples. The picture on the left is automatic white balance by the camera. The picture in the middle is by focusing the camera on the white background with the figure removed, and using the measure option. I can't tell any difference in the background, which leads me to believe that the automatic white balance is actually measured by the camera somehow. The picture on the right is using the fluorescent setting. Even though all the lighting on the figure is using fluorescent lights, this setting produces a picture that is color-shifted towards blue, both in the background and in all the painted colors. Anyway, this is just a demonstration; I prefer to just use the default and have superior control over the white balance correction in the image processing step.
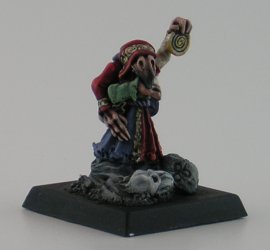 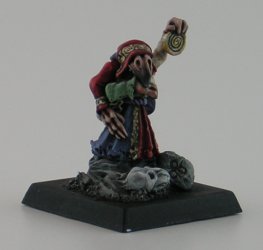 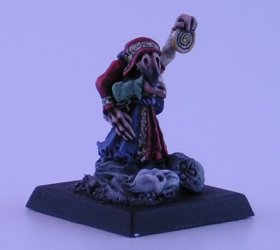 |
|
Experiments in lighting
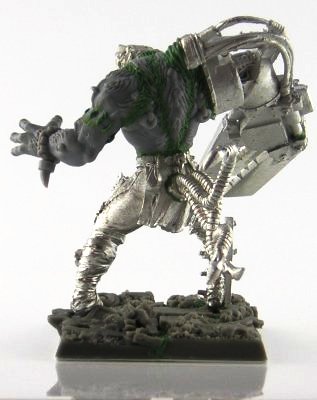
This section is dedicated to my ongoing attempts to identify the optimal lighting setup for my photography. To start, I thought I'd demonstrate the difference between my best efforts at flash photography without the light box, and my first photograph with the OBN light box. The photo on the left is room lighting and flash with a white (slightly dirty) fabric backdrop. The photo on the right is in the light box with the matte white plastic backdrop. The lighting is clearly more uniform, the colors are more true-to-life, and the level of detail is greatly improved. Even with no image enhancements or corrections, you can see how the light box helps accentuate details without glare or a shadow on the background. 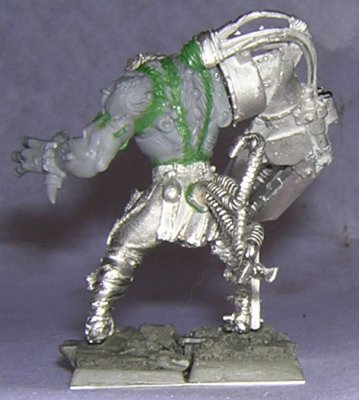 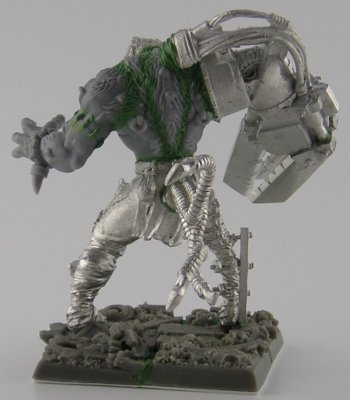 If I take these images and digitally enhance them, I can adjust the brightness and contrast and other features to reduce the glare in the flash photo, but it doesn't get much better. Even if I had shot it on a cleaner, brighter white background it would still look poor because of the distance and the shadow. With just one step of image processing (see the next section for details on image processing) though, the light box photo on the right can be cleaned up and now looks crisp, clean, and professional. This image could have come right out of White Dwarf. There is a little wash-out of the shiny metal onto the white background, but that can't be helped. Shiny metal is not the optimal surface for photographing, so I plan to also photograph the miniatures after priming with gray spray primer. 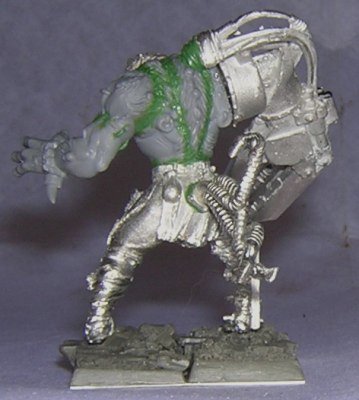 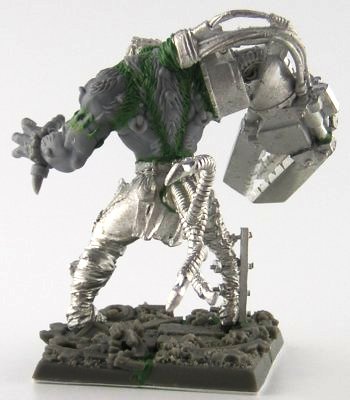 Here's a comparison of the matte background to the glossy background, before and after image processing. Try to ignore the lighting of the figures, because one was taken during the day and one at night. Just concentrate on the background. My opinion is that the glossy does not get any cleaner or whiter than the matte after image processing, and is just as gray before processing, so there is no time saved. Additionally, the reflection of the figure in the background is more apparent. Since I'm considering adding another light source to light the figure from above, I definitely don't want to be using the glossy background.  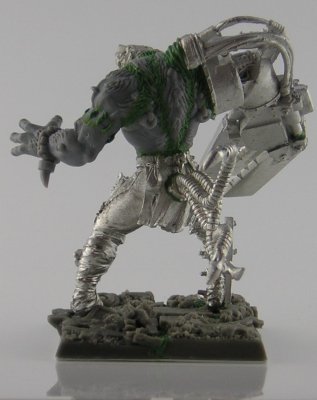
  Here is an example of how your lighting can affect your pictures. In attempting to photograph a large object, you could move the camera farther away and reduce your zoom, as in the photo on the left. However, the lighting affects the camera's auto contrast. Under the exact same lighting conditions, if you take steps to block the light which is illuminating your figure from directly entering the camera, you can get quite a nice picture of even large objects. After this experiment, I am even more convinced I need another light from above. The full-size pics of the Eshin screaming bell are elsewhere on the website. 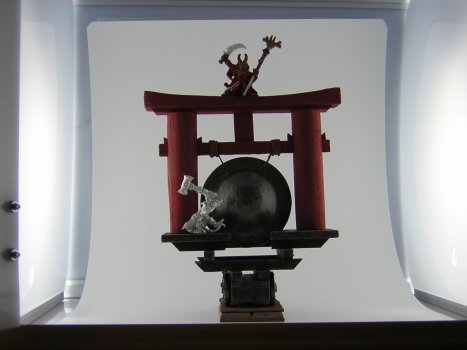 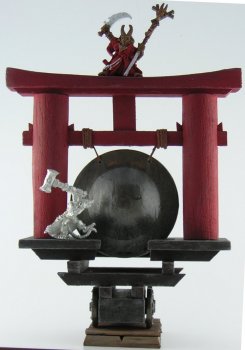 Here is an experiment in photographing color. I've reduced the size, so the resolution is not exactly what the original photos were, but you can see the results. Although the colors are true, I'm not happy with how dark the pictures are. The brights are not too bright, but the darks are too dark, especially in the crevices. This is not an image processing feature, or one that image processing is likely to fix without altering the overall color or tonal balance. In my opinion, this is something that may be resolved by lighting, such as adding another lamp either directly above or perhaps above and behind the camera, such as a professional photographer might have. To keep my setup neat and portable, my plan is to move the light box under my desk lamp, which is a fluorescent bar lamp with an arm that can reach over the top of the box. If I place the light above, the top of the light box will filter the light for me. If I arc it far enough that the lamp shines directly onto the figure, I may use one of the spare light filters that came with the light box. Another option would be to always take pictures during the day, with the window behind me, but since I get to work almost exclusively after dark, that isn't a very good option for me. 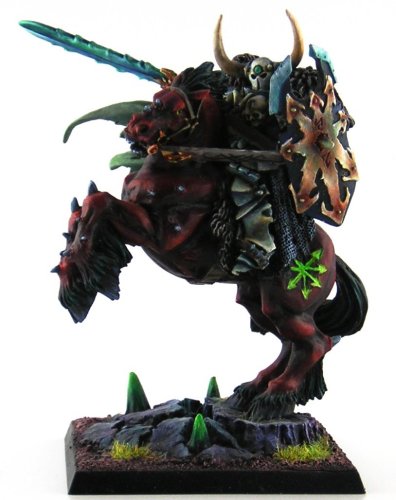 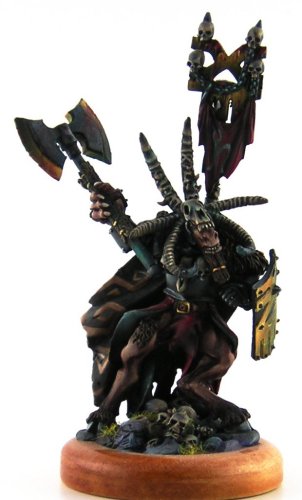 There are still things to try, but I'm already close to finding the optimal setup. Clearly I need to try additional lights. The light box also comes with alternate filters for the side lights; currently I'm using the white acrylic, but it also comes with white fabric. The colored backdrops (gray, black) and fabric backdrops that came with the light box I probably will not use for photographing miniatures. |
|
Image processing
My Ph.D. is in Biomedical Imaging, so I have a thorough knowledge of image processing. I didn't have to experiment with different methods of altering photos, I just picked the one that I expected to do the best, and it does great, so I left it at that. You could possibly reproduce my one-step method using various sequences of brightness, contrast, and gamma corrections, but the end result should be the same as what I'll describe here.
I'd like to go into enough detail about this correction tool that a novice user could perform corrections without having to experiment, so I'll show a few more screen captures. The curve on the left is the general curve that I use for man-sized figures. To the right of the cursor, you can see that I've applied a threshold value at the maximum output intensity, so that almost-white in the input is white in the output. The point of interest is the point under the cursor, which is approximately the background color in the input image. By moving this point up or down just a little bit, the background is converted to different almost-white values in the output image. Putting it all the way to the top will usually cause too much washing out of the highly reflective details and any parts that extend out from the figure over the background (e.g., loose chains, weapon blades, spikes, etc.). This particular point will need to be adjusted on a figure-by-figure basis. The curve on the right shows the cursor over a second point of interest on the curve. This point converts the almost-black in the input image to something less black in the output image. I generally don't have to adjust this point unless the lighting changes (e.g., daytime photos vs. nighttime photos) or the item I'm shooting is quite different (e.g., terrain vs. large figure vs. standard 28mm figure), but part of that might be the lightbox that I use. The goal is to improve contrast in the shadowed parts of the figure, so that detail can be seen. Don't move this point up too much, or you'll be reducing the available grayscale values in the image, causing washout in the gray range (like histogram equalization). Between these two points, the curve is linear. This means that the output values are equal to the input values, or there is no change. Generally, this means that no color alteration occurs. In reality, if you adjusted the above mentioned points, and have a linear curve between them, there is some adjustment to all the image values. The point in the center of the linear region, if it remains fixed, helps to limit the amount of adjustment that occurs to the overall image when the two important points are adjusted. Adding additional points is possible, but becomes hard to manage if adjustments need to be made to any of them (including the two important points which we can expect to be adjusting!). 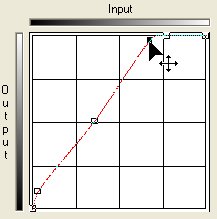 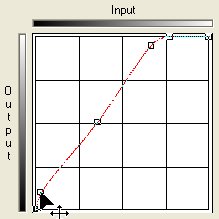 It would be a mistake to correct every photo with the same curve correction. Large figures do not generally need as much background correction as small figures, although I can't specifically cite the reason. Perhaps it is because the larger field of view allows more light to enter the camera, making the automatic white balance more accurate. Photos of large figures are generally less in need of dark-value correction because the details are usually larger and there may not be as many crevices for shadows to occur (for example, vehicles). Light is able to diffuse into large crevices to give good contrast to even the shadowed areas. The shadow that the figure does make, if the lighting allows for this, is large and would probably require so much background correction that it would cause undesired loss of contrast throughout the image. Here is an example. The photo on the left has no correction at all applied to it. If you're unsatisfied by the shadow it casts underneath and want to edit it out, you could apply the same general correction curve that I use on my figures. I've done this to the photo in the middle. You can see some loss of detail, especially in the little parts that stick out from the vehicle over the background. But the shadow is still present. Even if you go to extremes, as in the photo on the right, that shadow will still be there. You would have to manually segment and crop the offending area to remove it. 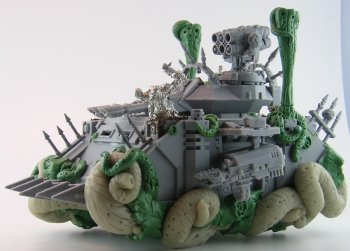 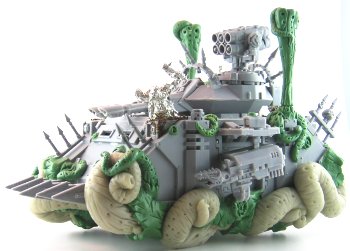 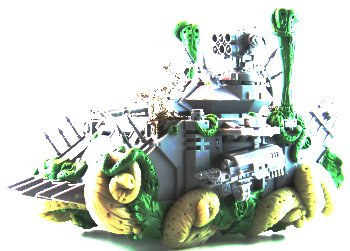 Image resizing and cropping
Image size is a problem for web viewing, especially if you have a camera with resolution greater than 2 megapixels. Your photos may be too wide to fit on a webpage without horizontal scrolling (which, as every web designer knows, is anathema!), or just too large for your allotted space. The best thing you can do, if you want to show full detail, is have the image pop up in its own window at large (maybe even full) size. But most of us, including myself, will be resizing our photos. Cropping is the first tool you should use. The crop tool allows you to select a region of interest in the image and eliminate everything outside that region. The image becomes smaller by getting rid of the background, and the figure takes up the majority of the space in the image. Cropping should not affect the resolution of the image, no matter how many times you perform the function, so just make sure you don't have a feathered or antialiased edge on your crop selection. This is a commonly known technique, but here's an example of an uncropped and cropped photo for those who aren't familiar with the term. 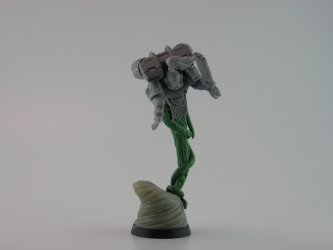  Resizing is a method of reducing the entire image without eliminating anything. The computer does this using interpolation, which is a method of creating an output image by averaging the colors of the pixels in the input image to determine what the best color is to use in the output pixel. The number of pixels from the input image that get averaged depends on how much the size changes during the resizing. The bigger the change, the more pixels get averaged. Interpolation reduces the resolution of the original image. As an example, consider a black line on a white background. When you average the grayscale values of 0 (black) and 255 (white), you get 127 (gray). So if you reduce the size by 50%, you will average two pixels (white and black) and get gray. If you reduce the size to 33%, you average two white pixels and one black pixel. And so on. Below is an example of this, with the original line on the left reduced by 50%, 66%, and 75%.  
  Clearly, resizing an image is going to degrade the image resolution and the color clarity, especially at borders. So if you want all the pictures to be the same height or width, it's better to crop them to that size than to crop them each to an arbitrary size and resize them. Another important lesson is to never resize an image more than once. Always save your original images, so that if you need to have them a different size at a later time, you can go back to the original and resize it instead of the already resized image. And if you screw up on your resizing, undo the change before attempting to resize again. Also, resizing can be used to enlarge an image, but NEVER do that as interpolation is much worse at upsampling than downsampling. In the example below, the center image is the original, the image on the left is downsampled (reduced or shrunk) by 50%, and the image on the right is the center image upsampled (enlarged) by 100% (cropped to show just a region). This is clearly worse resolution, and if you don't believe me, use the zoom feature on your Windows Picture and Fax Viewer (right-click on an image and select Preview). Once you get larger than the original size, resolution begins to get worse and worse as you continue to enlarge (zoom in). 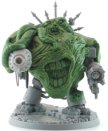  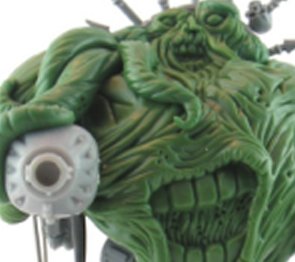 File formats and compression
There are only a few file formats to consider when talking about web viewing, but there are important differences to consider. The first is .gif images. The CompuServe Graphics Interchange Format only supports 256 colors (although it does support transparency), so its use in obtaining high resolution images is limited to those with a very limited palette. The most common file format might be .jpg or .jpeg (Joint Photographic Experts Group); many cameras now save their images in this format because they have a smaller file size than other formats. The reason for the smaller size, however, is the reason that makes .jpg images less than optimal for high resolution images of small objects. Some file formats use data compression techniques to reduce file size. Compression comes in two varieties: lossless and lossy. Lossless compression, such as that in .gif images, does not affect image quality. Lossy compression causes loss of image quality (hence the name). Paint Shop Pro actually has the option to set the amount of compression in .jpg images, so here is an example of how the compression affects image quality. From left to right, the compression ratios are 15%, 35%, 65%, and 95%. Clearly, you can get good compression ratios of the images without losing significant quality, but do you know what your camera is using for a compression ratio? The default in Paint Shop Pro is only 15% compression. 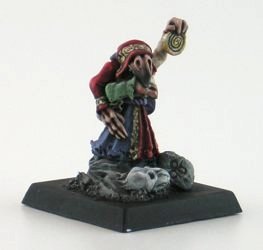 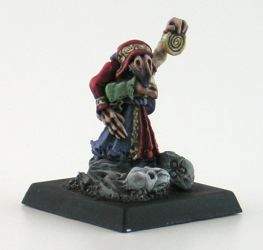
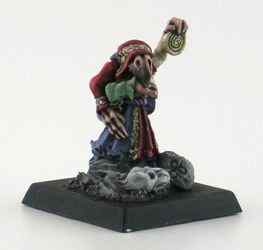 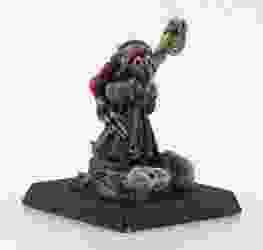 As a web designer, I have seen firsthand that compression in .jpg images can become much more significant through repeated saves. Each time you save the image, the compression algorithm is run again on the image. You will begin to see blocky pixels and odd colors. However, I was unable to reproduce this on a test image. It might be that you notice this effect when you are concerned with the precise color value of individual pixels, as you would be when designing a cohesive, coordinating web layout using images, than on a more macroscopic view of a larger image. The final two file formats worth mentioning are the Windows Bitmap Format (.bmp) and the Tagged Image Format (.tif). Both of these formats support uncompressed or lossless compression, which makes them ideal for photography. If your camera supports either of these formats, I suggest using them even though it may mean that you can take fewer pictures before downloading them. You may choose to convert them to .jpg images later, especially for internet viewing where the download time becomes an issue, but it's best to have the highest resolution available. If your camera only supports .jpg format, then you should stick with it but try not to save the image after every change you make to it. Save only the original and the final copy. And don't convert your original .jpg files to .bmp or .tif - if you don't have the resolution to start with, you're not going to gain it by making your file size larger. |


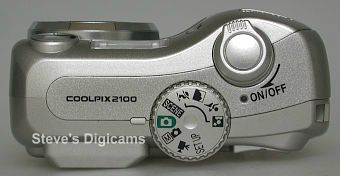 Not all cameras come with a macro mode, which is a mode which allows a closer focus range. You definitely want the option.
My camera has a focus range of 12+ inches in normal mode, and 1.6+ inches in macro mode. In normal mode, I generally need to max out the 3x zoom
to get a large enough picture at 12-18 inches from the figure. The good thing about increased distance to target is that the autofocus
is less sensitive to background (such as texture in your backdrop). But in general, I use macro mode at a distance of about 12 inches with moderate
zoom. Getting closer to the figure will reduce how much zoom you need to use, but it can also put the camera into your lighting area which
messes with the image contrast, and if your autofocus uses a contrast-detecting method, it can screw up your focus. Basically, don't try to push
the limits on range or zoom for the mode you're using, and just try some different configurations. If you're having problems, try moving farther
away first.
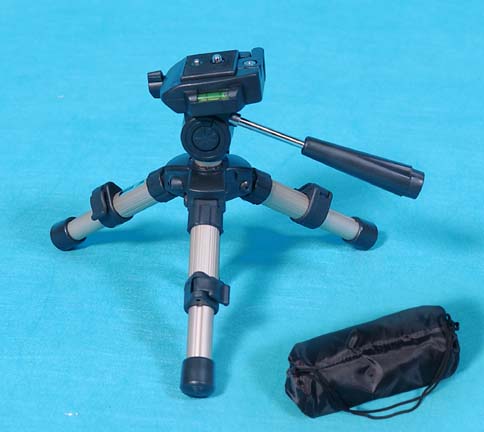 Whether or not you use the camera timer to help reduce jitters, you definitely need a tripod (and a camera with a tripod mount).
You need to be able to move or exchange the figures without
losing your optimal range and without dropping your camera over onto the floor. In general, you also want to take pictures from an angle just above
eyeline with the figure, so that the viewers can see the figure's base in perspective. Don't cheap out and get the flexible base type of tripod; spend
the extra couple dollars to get a tripod with a wider base and adjustable height.
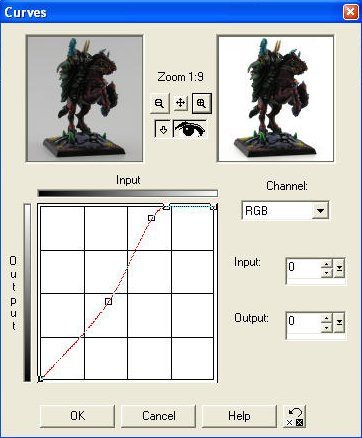 I use Paint Shop Pro for image editing, and the tool I'm using can be found under Colors >> Adjust >> Curves. This correction tool allows me to directly map
the input (original) intensities to the output (corrected image) intensities. The almost white background is found at the far
end of the input curve, and by just thresholding the values so that an input value of almost white is an output value of all white, I can remove the background
in one simple step. This also affects the almost-white pixels in the rest of the image, so if you're photographing something that is intentionally off-white,
such as the typical Tau color scheme, you may be altering your pictures in an undesirable manner, but it works well for me. Once you've done this once, the
program remembers your last settings, so you can always come back to them. Even better, if you open multiple images at once, you can just hit Ctrl-Y to repeat
the image processing on each image.