

|
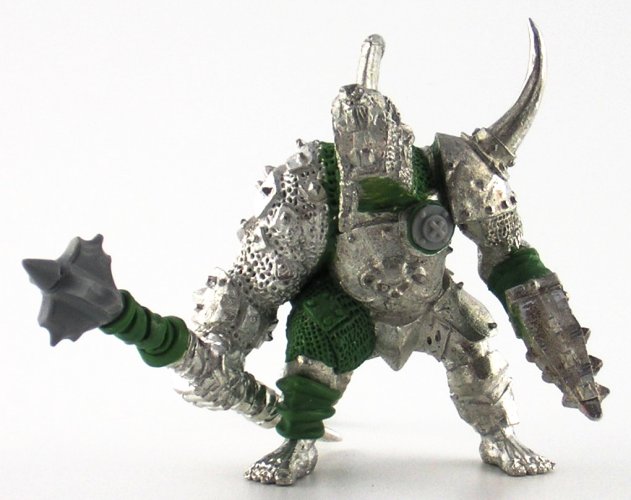
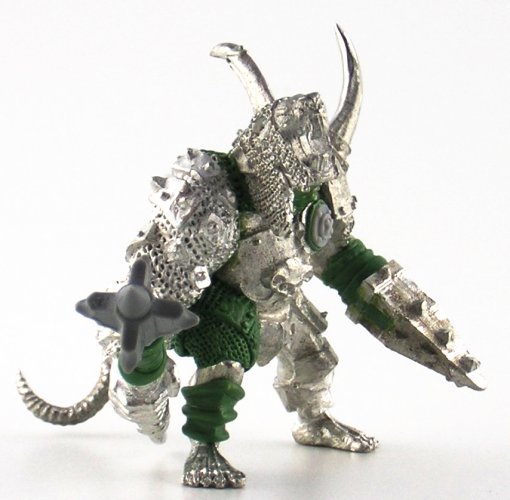
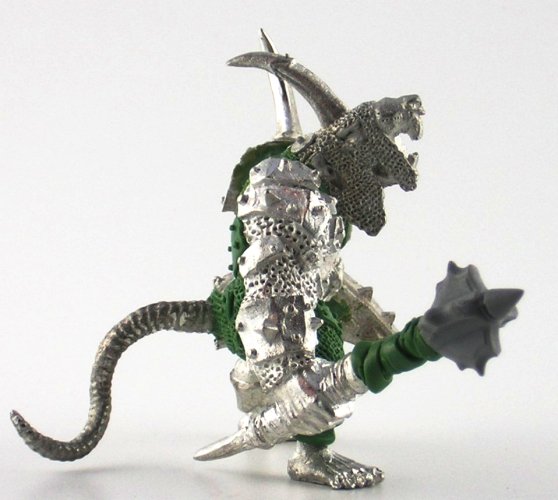
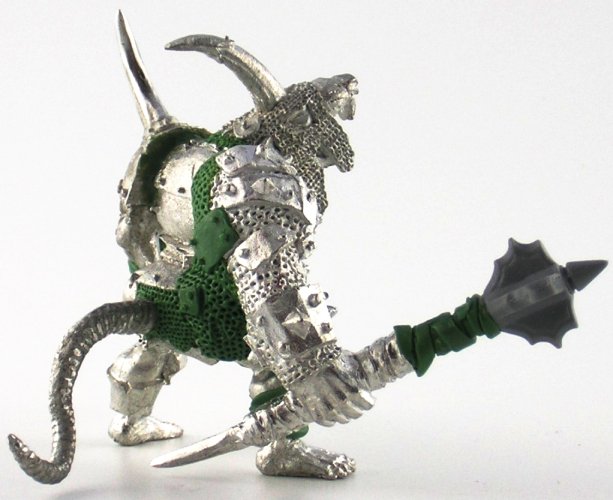
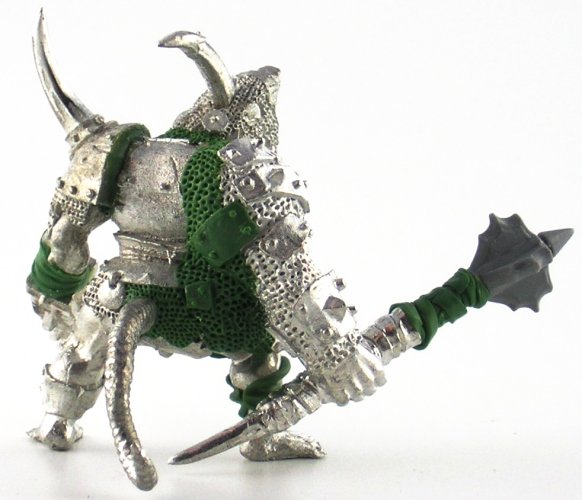
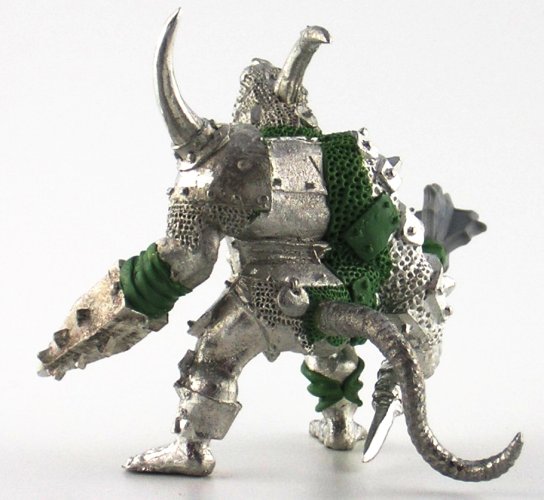
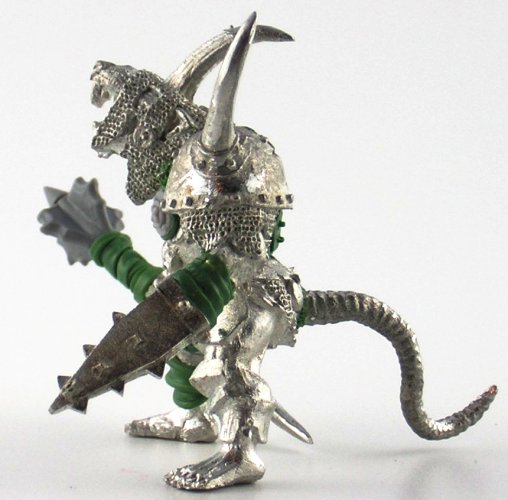
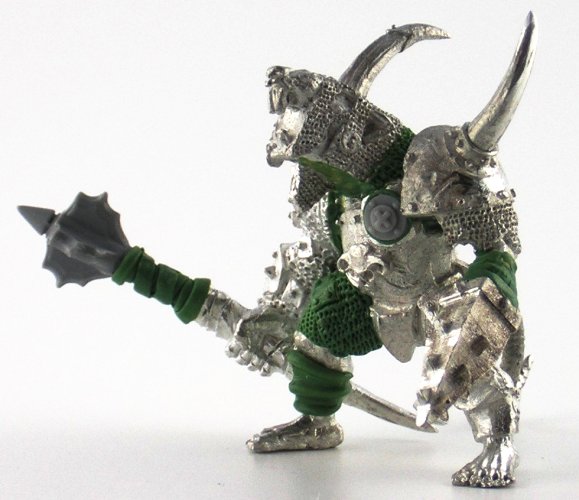
Armored rat ogre #3
Can't beat the price of the Mordheim pit fighter ogre body, this time with an Ogre Kingdoms tyrant arm leftover from armored rat ogre #1. I thought I was pretty cool when I swapped the hand for a battering ram head. This one took a lot of sculpting, as I wasn't happy with the join of the left arm, and wanted to continue the chainmail effect farther down the leg. I really liked the look of the small armor plates riveted over the top of the chainmail on the tyrant arm, so I repeated that on my sculpting to cover the join. I wasn't sure how much I wanted to do, but after I saw how good it looked, I went back once or twice and added more. I tried to make it look like there was overlapping layers of chainmail too, which is easier than trying to sculpt new chainmail that is continuous with the old chainmail. I think this one looks good overall, with three large spikes in different places that add character and a cohesive appearance. Because of the sculpting over the arm join, and the left shoulder pad, it's also much bulkier than the other rat ogres, which helps to set it apart from the other conversions based off the same body. As a finishing touch, I filed off the emblem on the left breast and put on a bit that looks like armor. I had planned on keeping all the rat ogres mostly weaponless, or at least grafting the weapons to arm stumps or making them permanent fixtures to the rat ogres in some way. But since I had already deviated from that with armored rat ogre #1 with great success, I tried it again. I don't like this one as much, mostly because my attempts to sculpt wrappings on the haft that matched the existing sculpt aren't up to my standards. I should have completely scrapped the weapon haft for something different. The knee armor was sculpted using a pointed spatula-type tool. I wrapped the green stuff about halfway around the leg from the front, and kept it fairly thick. Then I took my tool and placed the edge one-third of the way down from the top, at a 45-degree angle, and pressed in while moving it from the center of the leg to one side. I repeated this on the other side. As you push from the front center to the back, you wrap the green stuff around the leg completely, maybe even with a slight overlap in the back. Then I repeated this two-thirds down from the top, again on both sides. That gave me 3 raised ridges and 2 sunken troughs, and if you angled your tool right, the center ridge is V-shaped. The piece of armor is not completely round; it comes to a point at the front. Then take your tool and change the angle to shape the top and bottom raised ridges. The goal is to create two V-shaped sunken troughs with a V-shaped raised ridge in the center. The raised ridges on the top and bottom may be flared out or some other shape, but probably will not be V-shaped on both sides. Learning from my first attempt (see armored rat ogre #2), I left the troughs more V-shaped instead of rounding them out. This version of the leg armor came out much better in part because I wasn't trying to shape the armor piece over the top of another thick piece as in #2.
Parts list: Pit fighting mutations: These are some possible mutations to use during rat ogre pitfighting, from the GW website. |


